
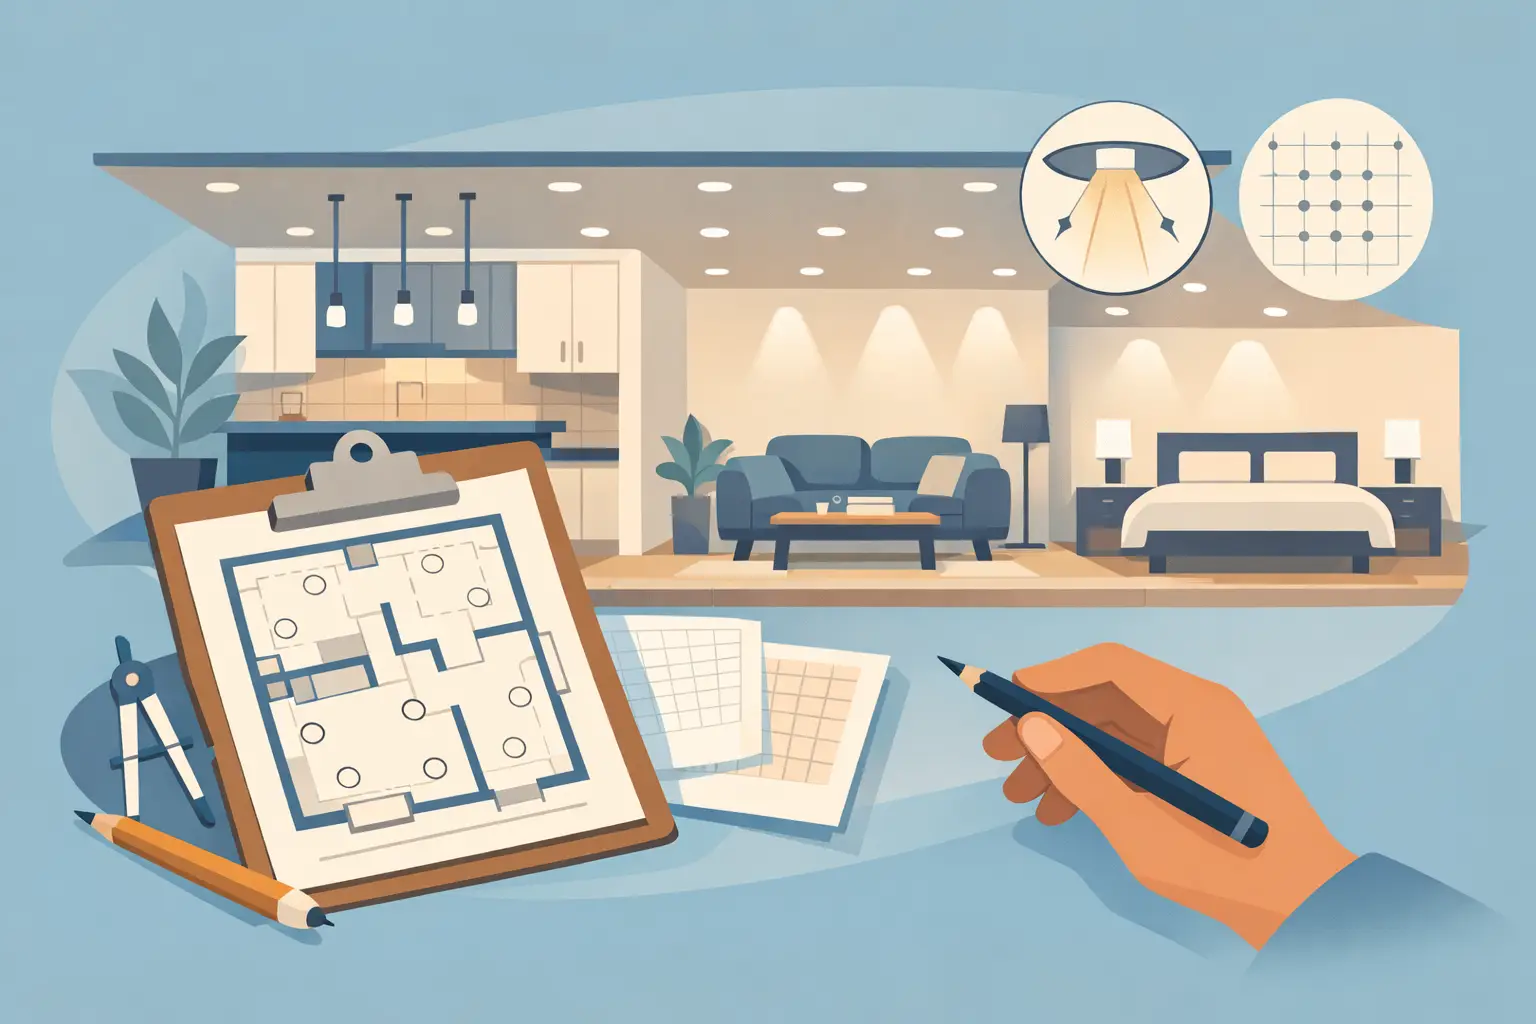
A good recessed lighting layout guide starts with one question: what do you need the light to do? A kitchen needs bright, shadow-free task lighting. A living room benefits from flexible ambient light. A hallway needs safe, even illumination without turning the ceiling into a grid of unnecessary fixtures. The difference matters, because recessed lights are most effective when they are planned around how you use a room, not simply spaced evenly from wall to wall.
For homeowners in Santa Rosa and throughout Sonoma County, recessed lighting can be one of the most practical upgrades for making a home feel brighter, cleaner, and more current. But layout decisions affect more than appearance. They influence comfort, energy use, ceiling access, switch locations, and the amount of electrical work required behind the walls.
Start With the Room, Not the Fixture Count
The most common layout mistake is choosing a number of recessed lights before considering the room’s purpose, existing light sources, ceiling height, and finishes. A room with dark cabinets, wood ceilings, or limited natural light may need a different approach than a bright room with pale walls and large windows.
Think in layers. Ambient lighting provides general illumination for moving through the room and seeing comfortably. Task lighting supports specific activities, such as chopping vegetables, reading, applying makeup, or working at a desk. Accent lighting draws attention to artwork, shelving, or architectural features. Recessed lights can handle one or more of these roles, but they are not always the only lighting source a room needs.
For example, a kitchen often works best with recessed lights for overall coverage, pendants over an island, and under-cabinet lighting for countertop tasks. In a dining room, a central chandelier or pendant may provide the visual focal point, while recessed lights fill in the darker perimeter. Adding too many cans can make a room feel flat and overly bright, even when each fixture is technically well placed.
Recessed Lighting Layout Guide: Spacing Basics
A useful starting point is to space recessed lights roughly half the ceiling height apart. With an 8-foot ceiling, that often means fixtures about 4 feet apart. With a 10-foot ceiling, spacing may be closer to 5 feet. This is a guideline, not a fixed rule, because beam spread, trim type, bulb output, wall color, and room function all change the result.
The distance from the wall is just as important. Placing lights too close to a wall can create harsh bright spots and emphasize imperfections. Placing them too far away can leave the edges of the room dim. In many rooms, positioning the first row approximately 2 to 3 feet from the wall creates a balanced wash of light. Where the goal is to highlight art or built-in shelving, placement may need to be more deliberate.
Instead of treating the ceiling as a blank rectangle, locate the areas where people stand, sit, cook, work, and walk. Center lights over those functional zones. A kitchen layout, for instance, should account for the countertop edge rather than just the center of the floor. Otherwise, a homeowner may stand at the counter and cast a shadow directly onto the work surface.
Ceiling Height Changes the Plan
Higher ceilings usually require either wider fixture spacing, higher-output light, narrower beam angles, or a combination of the three. A light that performs well in an 8-foot ceiling may feel weak in a vaulted great room. Conversely, powerful fixtures placed too close together in a standard-height room can create glare and an uncomfortable, overlit effect.
Sloped ceilings also require compatible housings and trims so the light aims correctly. This is not a detail to leave until installation day. The fixture type should be selected as part of the layout, especially in rooms with beams, skylights, or cathedral ceilings.
Room-by-Room Placement Considerations
Kitchens
In kitchens, plan recessed lights around the work areas first. A row of fixtures placed directly over the walking path may look symmetrical, but it can leave counters poorly lit. A better layout often aligns fixtures over the front edge of the counters, where the light reaches the work surface without putting your body between the fixture and the task.
Islands need their own plan. Recessed lights may supplement the space, but pendants are often a better choice for direct island lighting and visual character. If you use both, dimmers allow the room to shift easily from food prep to entertaining.
Living Rooms and Family Rooms
Living spaces need flexibility more than maximum brightness. Recessed lights can provide an even base layer, but placing every fixture on a single switch limits your options. Separating perimeter lights, a seating-area zone, and accent lighting gives you more useful control.
Avoid aiming recessed fixtures directly into the eyes of someone seated on the sofa. Consider where televisions, artwork, and fireplaces sit as well. Poorly placed lights can cause screen glare or compete with the room’s focal point.
Bathrooms
Recessed ceiling lighting is helpful in a bathroom, particularly above shower areas when the fixture is rated for wet locations. However, ceiling lights alone are not enough for grooming. Vanity lighting should illuminate the face from the front or sides to reduce shadows under the eyes and chin.
Electrical safety is especially important in bathrooms because fixtures, switches, and circuits must meet location-specific code requirements. A licensed electrician can confirm appropriate fixture ratings, circuit protection, and installation methods before work begins.
Bedrooms, Hallways, and Entryways
Bedrooms typically benefit from softer, dimmable lighting. Recessed fixtures can create clean general illumination, but bedside lamps, wall sconces, or a decorative ceiling fixture often make the space more comfortable. Keep fixtures away from locations where a person lying in bed will see a bright source directly overhead.
For hallways, prioritize consistent coverage and safe passage. A simple centered row can work well when the hallway is straight and narrow, though fixture spacing should still match the ceiling height and light output. Entryways may call for a more decorative fixture, with recessed lights used to brighten nearby circulation areas.
Choose Fixture Size, Color Temperature, and Controls Together
The layout is only one part of the result. Fixture size and light quality affect how far apart lights can be placed and how the room feels once they are on. Smaller modern LED recessed fixtures are popular because they have a clean profile and can fit in tighter spaces, but their output and beam angle vary widely.
For most homes, warm white light around 2700K to 3000K creates a comfortable residential feel. Some homeowners prefer 3000K to 3500K in kitchens, bathrooms, and utility spaces for a crisper appearance. What matters most is consistency. Mixing noticeably different color temperatures between connected rooms can make a home feel disjointed.
Dimmers are one of the best ways to improve a recessed lighting installation. They allow bright task lighting when needed and lower, more relaxing light at night. Make sure the dimmer, LED fixtures, and drivers are compatible. An incompatible combination can lead to flickering, buzzing, limited dimming range, or lights that do not turn fully off.
Plan Around What Is Above the Ceiling
A clean ceiling layout on paper may run into framing, plumbing, HVAC ducts, insulation, or existing wiring once installation begins. Older Sonoma County homes can present additional variables, including limited access above the ceiling, outdated wiring, or construction details that make fixture placement more complex.
That does not mean the project cannot be done well. It means the design should be verified before holes are cut. In some cases, an electrician may recommend shifting a fixture slightly, selecting a different housing, or using surface-mounted or decorative lighting in a difficult location. These adjustments protect the home and help avoid unnecessary drywall repairs or added costs.
Electrical capacity also deserves attention when a project includes a large number of new fixtures, especially in a home with an older panel or several recent electrical upgrades. LED recessed lights use far less energy than older lighting, but proper circuit design, connections, and code-compliant installation are still essential.
When Professional Layout Help Is Worth It
A homeowner can sketch a preliminary lighting plan, but professional input is valuable when the room has a vaulted ceiling, a remodel is underway, fixtures will be added near showers, or the home has aging electrical systems. It is also worthwhile when you want multiple lighting zones without a confusing collection of switches.
A licensed electrician can evaluate the space, explain realistic options, identify access challenges, and recommend a layout that balances appearance, light quality, and budget. APG Electric helps homeowners make those decisions with clear recommendations rather than a one-size-fits-all fixture count.
The best recessed lighting plan should disappear into daily life: the kitchen is easy to work in, the hallway feels safe, the living room adjusts to the moment, and the ceiling looks intentional. Start with how each room needs to feel and function, then let the layout follow.